Introduction
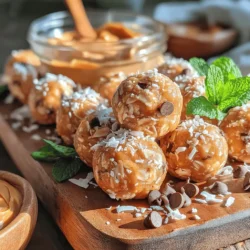
In recent years, there has been a significant shift towards healthy snacking, with more people becoming conscious of their dietary choices. As a result, nutritious snacks that don’t compromise on taste have gained popularity. One such delightful option is the Peanut Butter Bliss Bites, a perfect blend of flavor and nourishment.
These bites are not only delicious but also incredibly easy to prepare. With just a handful of simple ingredients, you can whip up a batch of these energy-packed snacks that are perfect for a midday pick-me-up or a post-workout treat.
Recipe Overview
– Total Time: 15 minutes
– Servings: 12 bites
– Difficulty: Easy
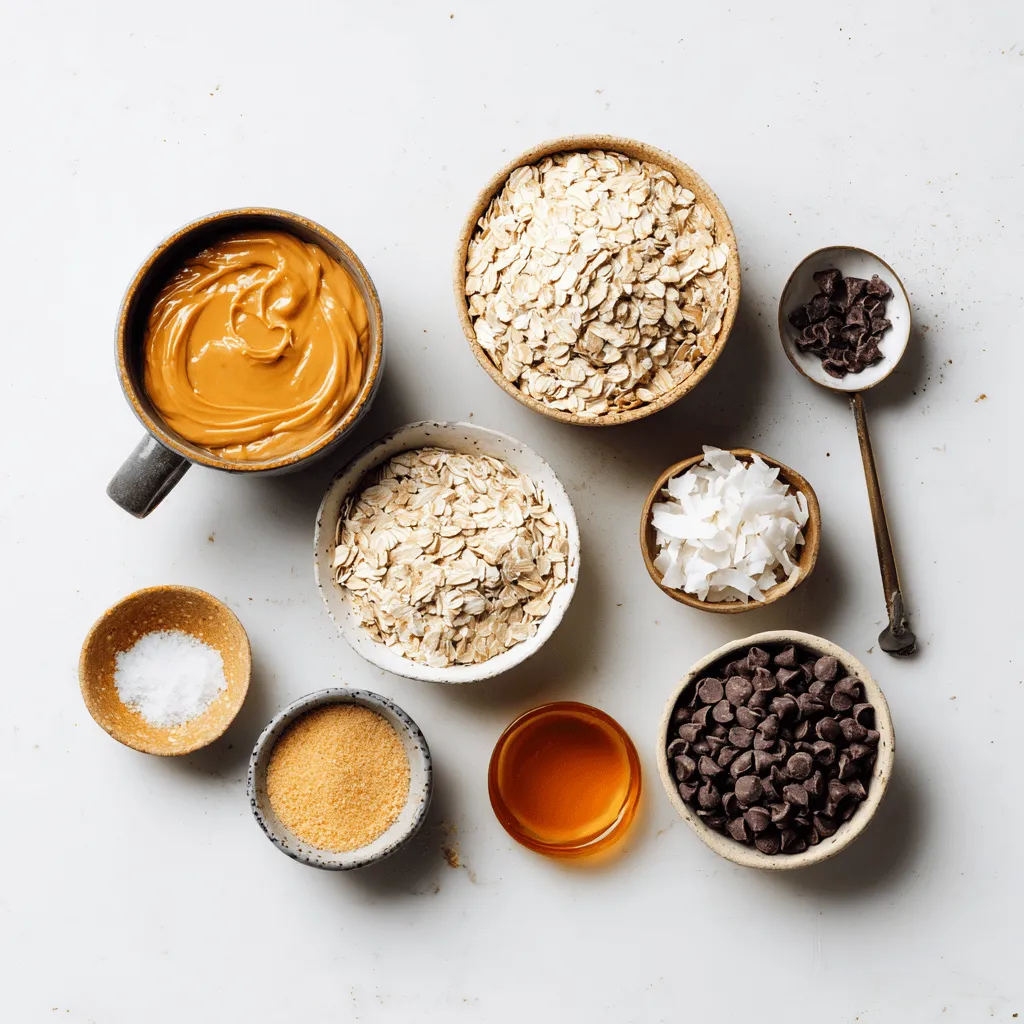
Ingredients
– 1 cup natural peanut butter
– 1/3 cup honey or maple syrup
– 1 cup old-fashioned rolled oats
– 1/2 cup shredded coconut
– 1/2 cup chocolate chips (optional)
– 1/2 teaspoon salt
– 1 teaspoon vanilla extract
Instructions
1. In a large mixing bowl, combine the natural peanut butter and honey (or maple syrup) until smooth.
2. Add the old-fashioned rolled oats, shredded coconut, chocolate chips (if using), salt, and vanilla extract to the bowl. Mix until all ingredients are well incorporated.
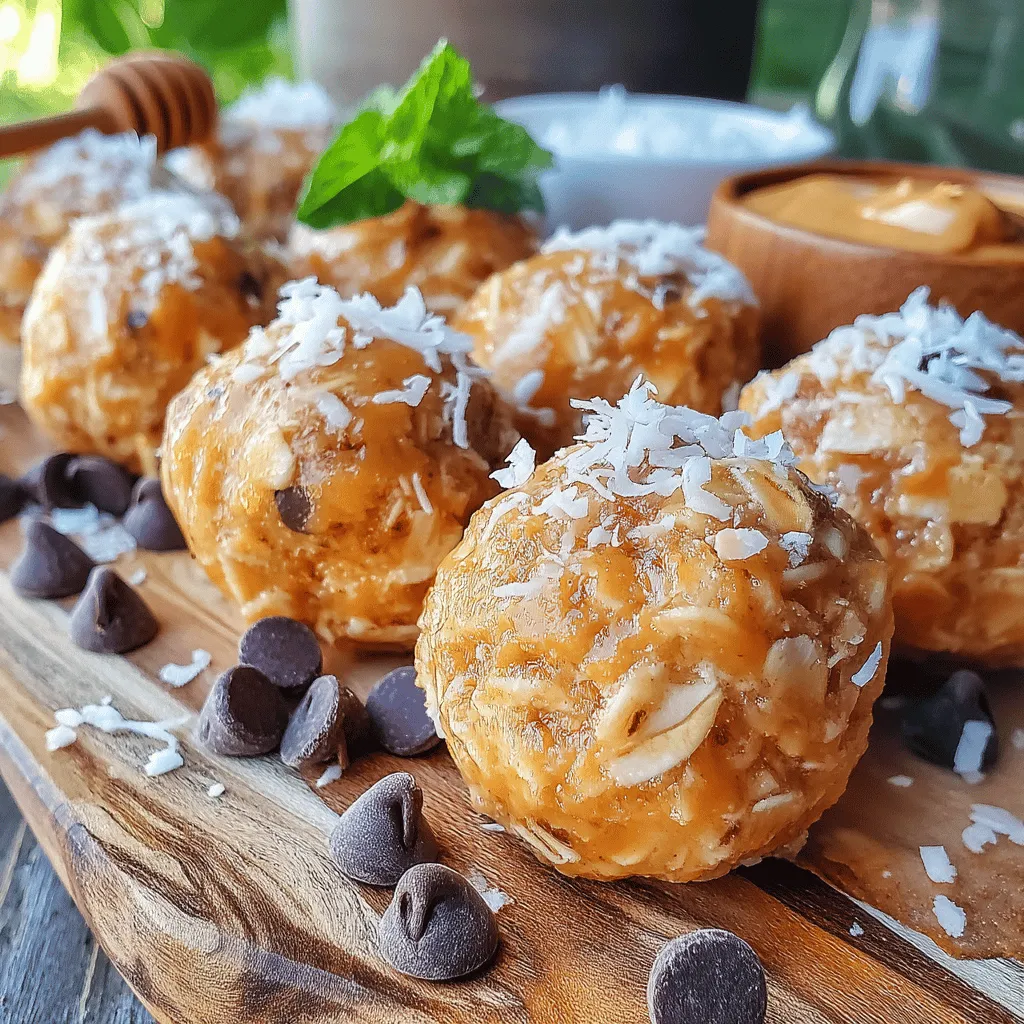
3. Using your hands, scoop out small portions of the mixture and roll them into bite-sized balls.
4. Place the bites onto a lined baking sheet or plate.
5. Refrigerate the bites for at least 30 minutes to firm up.
6. Once set, enjoy your Peanut Butter Bliss Bites or store them in an airtight container in the fridge.
Understanding the Ingredients
– Natural Peanut Butter: Made from ground peanuts, it’s rich in protein and healthy fats. You can choose between creamy or crunchy based on your texture preference.
– Honey vs. Maple Syrup: Both serve as natural sweeteners, but honey has a slightly higher glycemic index than maple syrup. Maple syrup offers a unique flavor profile that pairs well with the nuttiness of peanut butter.
– Rolled Oats: Using old-fashioned oats is crucial for the right texture. They provide a hearty base and are an excellent source of fiber.
– Shredded Coconut: This adds a subtle sweetness and chewy texture while providing healthy fats and fiber.
– Chocolate Chips: Although optional, they can elevate the flavor profile, making the bites even more indulgent.
– Salt and Vanilla Extract: These ingredients enhance the overall flavor, balancing the sweetness and richness of the other components.
Tips for Perfecting Your Peanut Butter Bliss Bites
Preparing the Base
Achieving a smooth consistency is crucial for your Peanut Butter Bliss Bites. Start by using creamy peanut butter, as it blends more easily than chunky varieties. If your peanut butter is too thick, consider gently warming it in the microwave for a few seconds—this will help it combine seamlessly with other ingredients.
Incorporating Dry Ingredients
To ensure even mixing when adding dry ingredients such as oats, protein powder, or sweeteners, sift them together before combining. This technique helps eliminate clumps and ensures that every bite is as delicious as the last. Use a spatula or wooden spoon to fold in the dry ingredients gently, avoiding overmixing which can lead to a denser texture.
Chilling the Mixture
Refrigeration is key when preparing your Peanut Butter Bliss Bites. After combining all ingredients, allow the mixture to chill for at least 30 minutes. This step not only makes the mixture easier to handle but also enhances the flavors as they meld together.
Shaping the Bites
When it comes to rolling and shaping your bites, consistency is key. Use a small cookie scoop or your hands to form uniform balls about 1 inch in diameter. If you find the mixture sticking to your hands, dampen them slightly with water or oil. This will prevent the mixture from adhering and help you achieve a smooth finish.
Firming Up the Bites
After shaping, place the bites back in the refrigerator for about 15-20 minutes. This setting process allows them to firm up, making them easier to handle and store. Firm bites will maintain their shape better when being transported or consumed.
Serving Suggestions
There are countless creative ways to enjoy your Peanut Butter Bliss Bites. Pair them with fresh fruit slices for a nutritious snack, or serve them alongside yogurt for a satisfying breakfast option. For an extra touch, roll the bites in shredded coconut, chopped nuts, or cocoa powder before serving to add texture and flavor.
Versatility of Peanut Butter Bliss Bites
Flavor Variations
Experimenting with flavor variations can elevate your Peanut Butter Bliss Bites. Consider adding chopped dark chocolate, a sprinkle of cinnamon, or a handful of dried fruits for a unique twist. For a crunchier texture, incorporate crushed nuts or seeds such as chia or flaxseeds.
Dietary Customization
One of the best aspects of this recipe is its versatility to meet various dietary needs. For those requiring gluten-free options, ensure that the oats are certified gluten-free. If nut allergies are a concern, substitute peanut butter with sunflower seed butter or a similar alternative.
Serving Sizes and Meal Planning
Peanut Butter Bliss Bites are perfect for portion control. Consider packaging them in snack-sized bags for easy grab-and-go options. They serve as a great addition to meal prep, providing a nutritious and energy-boosting snack throughout the week.
Storage and Shelf Life
Proper Storage
To maintain freshness, store your Peanut Butter Bliss Bites in an airtight container. They can be kept in the refrigerator for up to a week or frozen for longer shelf life. When freezing, layer them between parchment paper to prevent sticking and allow for easy removal.
Shelf Life and Freshness
When stored properly, these bites can last up to three months in the freezer. To enjoy them, simply let them thaw in the refrigerator for a few hours before consuming. This method preserves their flavor and texture, ensuring every bite remains delightful.
Meal Prep Convenience
Peanut Butter Bliss Bites are an excellent choice for meal prep, providing a quick and nutritious option for busy days. Make a large batch at the beginning of the week and enjoy them as a pre-workout snack, afternoon pick-me-up, or a healthy dessert.
Conclusion
In summary, Peanut Butter Bliss Bites are a delightful and nutritious snack that can easily fit into any lifestyle. Their simple preparation process, combined with numerous customization options, makes them an ideal choice for those seeking healthier snack alternatives. So why not experiment with this recipe? Enjoy the benefits of these tasty bites as a satisfying and wholesome addition to your daily routine.